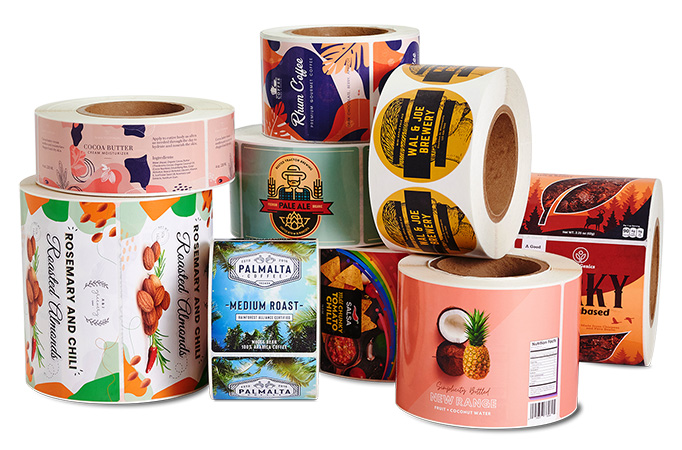
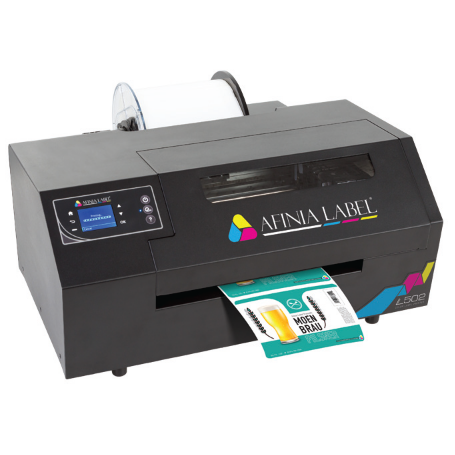
If you produce your own labels or are planning to then you are going to use at least one, two or even all of these label production steps.
Label production in it’s simplest form is broken into these 4 steps and this blog is designed to explain these steps and what type of machinery or software might help you.
Step 1 – Label Design
Designing your label is more often that not the hardest part of the process. You may out source this or design yourself but there are a few things so consider when designing your label. Many people design a beautiful label that looks exactly how they’ve dreamt but don’t take into consideration the following.
- How will your label be produced?
- Cost of label production?
- How will your label be applied?
- What label design software options are there?
We get a lot of people who want a part transparent label with a foil embossed image, multi colour and perhaps white printing too. This is fine if you’re outsourcing to a Flexo printer and you want hundreds of thousands of labels. What if you are producing low volume labels or even “one off” bespoke labels. You need to consider this as there are limitations on what you can digitally print in short run. I recommend you consider this and even talk to one of our team before you design your label to make sure it’s achievable in the volume you require. Even if it is achievable the cost to do so might be bigger than expected and this needs to be considered.
What software is good for designing a label?
There are two things to think about here. Are you looking to design a label with detail and jazzy graphics from the ground up or do you just require a label builder? If you are designing from scratch then your standard graphics packages are the most common design tools. Adobe Illustrator, Photoshop, InDesign, Corel Draw and so on.
If you already have your background graphics or maybe standard logos etc and you’re looking to just build your label. Maybe add text, barcodes or unique content and just put this all together then there are more “label specific” packages. NiceLabel & Bartender are probably the two leading packages and maybe GoLabel for thermal printing on the Godex printers.
These packages are great label builders. Create a page size to the size of your label. Import graphics and position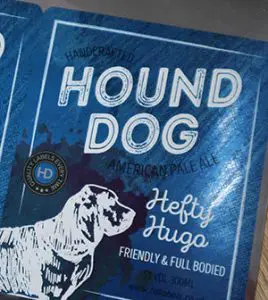
You might have your artwork all designed for you and you simply receive a PDF from the designer and you wish to print that. No problem. Key things here are that the PDF is designed to the exact size of your label and there are no guides, borders or white space around the label. Advantage of using PDF is that it’s free to print from on your PC and can’t easily be edited so if you have a production area where you just want people to select an artwork, print and do nothing more. This might be for you.
There are a few options regarding software and designing your label so if you have any doubts or questions please talk to the team.
Get help designing your labelStep 2 – Label Printing
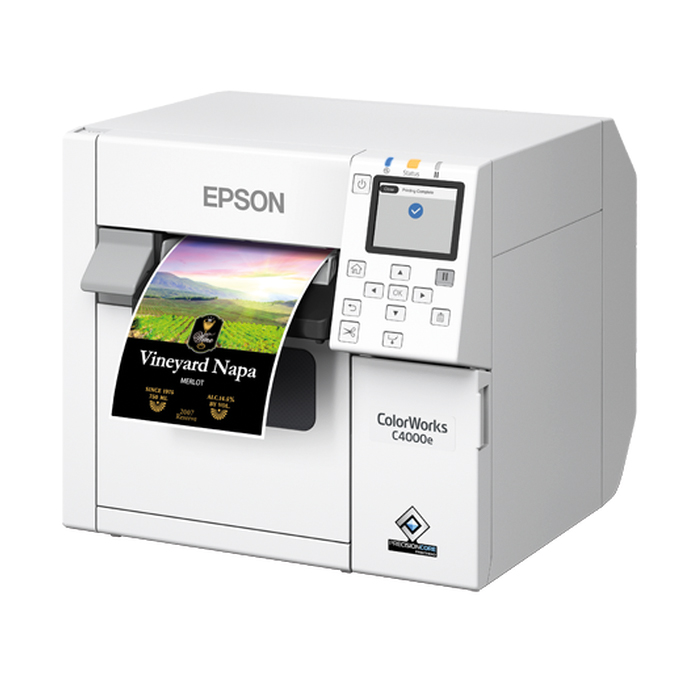
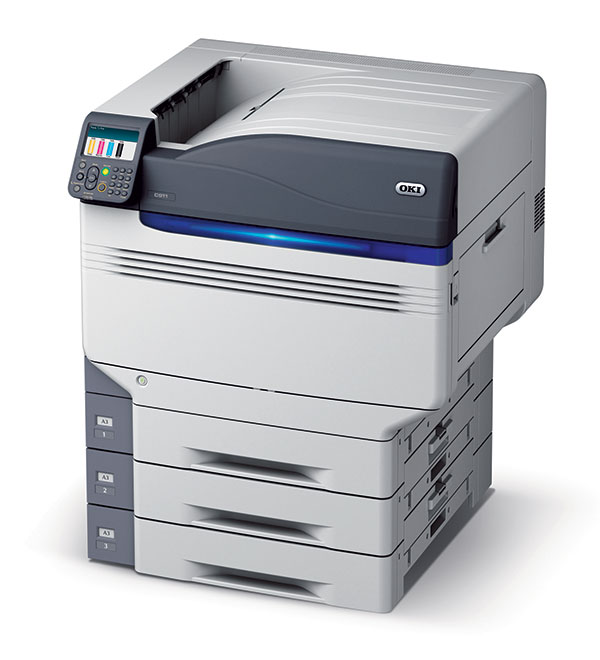
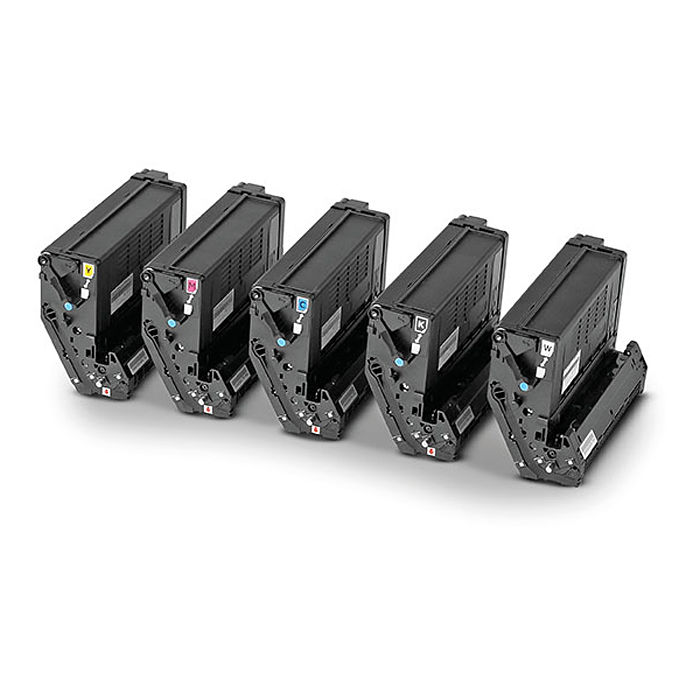
You have your artwork ready and you’re now needing to print your labels. There are many options when it comes to printing so we 100% recommend you talk to one of our team who will guide you through some questions to narrow down the solutions that are right for you.
First thing to decide is if you will need pre cut labels or whether you will print onto continuous material and print yourself. If you are using pre cut labels then you can miss step 3 once printed and go straight to step 4. The advantages or pre cut labels are as follows.
Pre cut label advantages:
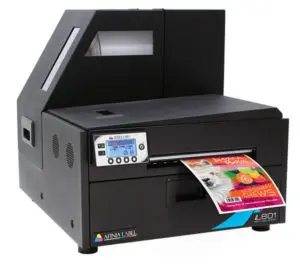
- Labels already cut to the exact size and shape you require.
- As you are only printing you can go straight from printing to application so this is quick.
- Ideal if you have limited sizes and shapes and don’t need to stock hundreds of different sizes.
- Clean & minimal waste. Roll to roll labels are simple, clean and efficient. If you need 36 labels for your job you can print 36 labels.
Pre cut label disadvantages:
- If you require a new size it needs to be made. If you are cutting from continuous material you can produce any size instantly.
- No lamination. Laminates can be applied before a label is cut offering a different finish or increased durability. You can’t laminate a pre cut label.
Often your volume or labels, amount of shapes & sizes, budget and time to produce your labels will determine how you do this. Again we can help guide you here.
The number one thing to remember before you buy any label printer is to get samples, costs per print and ideally a demonstration before you purchase. It’s no good finding out your label isn’t durable enough or costs 40p a label once you’re bought your printer. The rule of thumb is the more you pay for a label printer initially the lower the running costs are but this isn’t always the case.
What types of label printers are there and how to choose the right one?
At HD Labels we pride ourselves on being able to help you find the right solution for you. We prove each concept and can compare solutions so it’s not just our word you need to rely on. We will provide free samples, demos and explain your full cost of ownership before you purchase any printer. We ideally wouldn’t recommend you just buy from our site. Use our knowledge and choose a label printer for you.
There are all shapes and sizes of printers but more often than not, what you are trying to print narrows the printer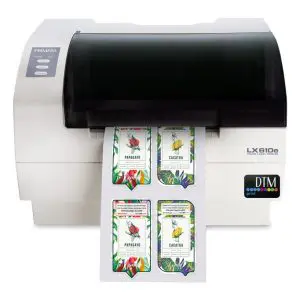
Label printer checklist:
- What size are the largest and smallest labels you will need to print?
- Do you need colour, foils, transparency or just black text?
- Durability – Do they labels need chemical, water or UV resistance?
- What volume of labels are you printing and how quickly do you need them?
- Budget – Both for the initial purchase of a printer but also what do your label costs need to be? Running costs are key!
- What material do you need?
These are the things to think about and we will most likely ask you when you first enquire about a label printer. You will see on the link below that there are a wide range of label printers available so get help finding the right solution.
Label Printer RangeWhere your label will end up is key. If it’s a chemical label, cosmetic or maybe a massage oil then it will most likely need to look good or remain legible for regulation. So make sure you choose the correct label printing process to ensure your label is up to the required task. This again is key.
Get help choosing a label printerStep 3 – Label Cutting / Finishing
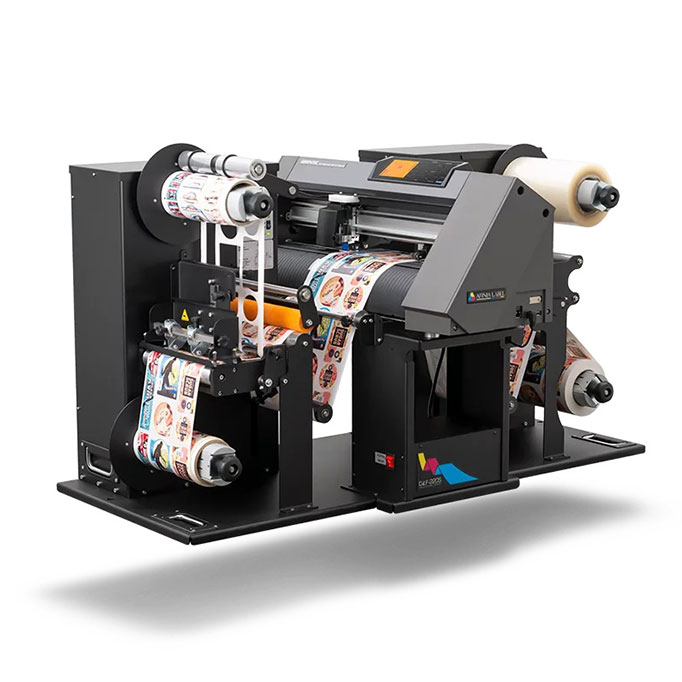
If you choose to use continuous material to print your labels then you will need to cut out or finish your labels. Cutting your own labels is becoming more and more popular with companies taking control of their label production or offering a label print service themselves.
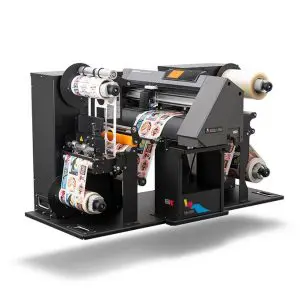
Advantages of cutting your own labels:
- You can cut any shape or size label instantly.
- No dies / cutters or setup costs.
- Add a laminate for increased durability or change in finish.
- Buy continuous material to bring down your material costs.
- Have many shapes and sizes of labels. Ideal for label printing service.
We have a range of finishers from 140mm wide to 330mm wide. We have both knife or die cutting solutions so come and see the finishers in action and we’ll help you understand if they are right for you.
Get help choosing a label finisherStep 4 – Label Application
Label application can be one of the hardest parts of the label production process and will depend on the type of label you have and the product you are applying too. Cylindrical products such as jars, bottles, tubs, tubes etc are the easiest when it comes to adding automation to your application. From around £1100+ you can get semi automatic label applicators that really improve your application.
Why would you use a label applicator?
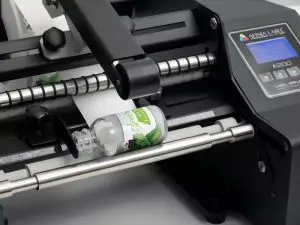
- Speed – Dramatically increase the speed of your label application.
- Consistency – Apply labels correctly to the same spot on your product every time.
- No creases – Smooth label application.
- Straight – Guides help to again ensure consistancy.
There are a range of label applicators and this blog “which applicator is right for you?” is a good place to start.
Also we ran a test “Man Vs Machine” which gives you a good insight into the benefits of a semi automatic label applicator.
Label Applicator RangePlease note that we recommend you try you product on any label applicator before you purchase. Some are better than others with certain products and the machines can either be amazing or terrible depending on your product. It’s free to try so send us some labels and bottles and we will prove the concept before you spend any money.
Get help choosing a label applicatorAs we said right at the top. Maybe only one or two of these steps are relevant to you but either way it’s important you get the right advice and prove any concept before making a purchase. There are so many options and so many opportunities to get it wrong so make the most of our experience and let us guide you. We don’t charge for samples, demonstrations or our time.
Thank you
HD Labels Support Team
